The dining room before....

& after we painted.

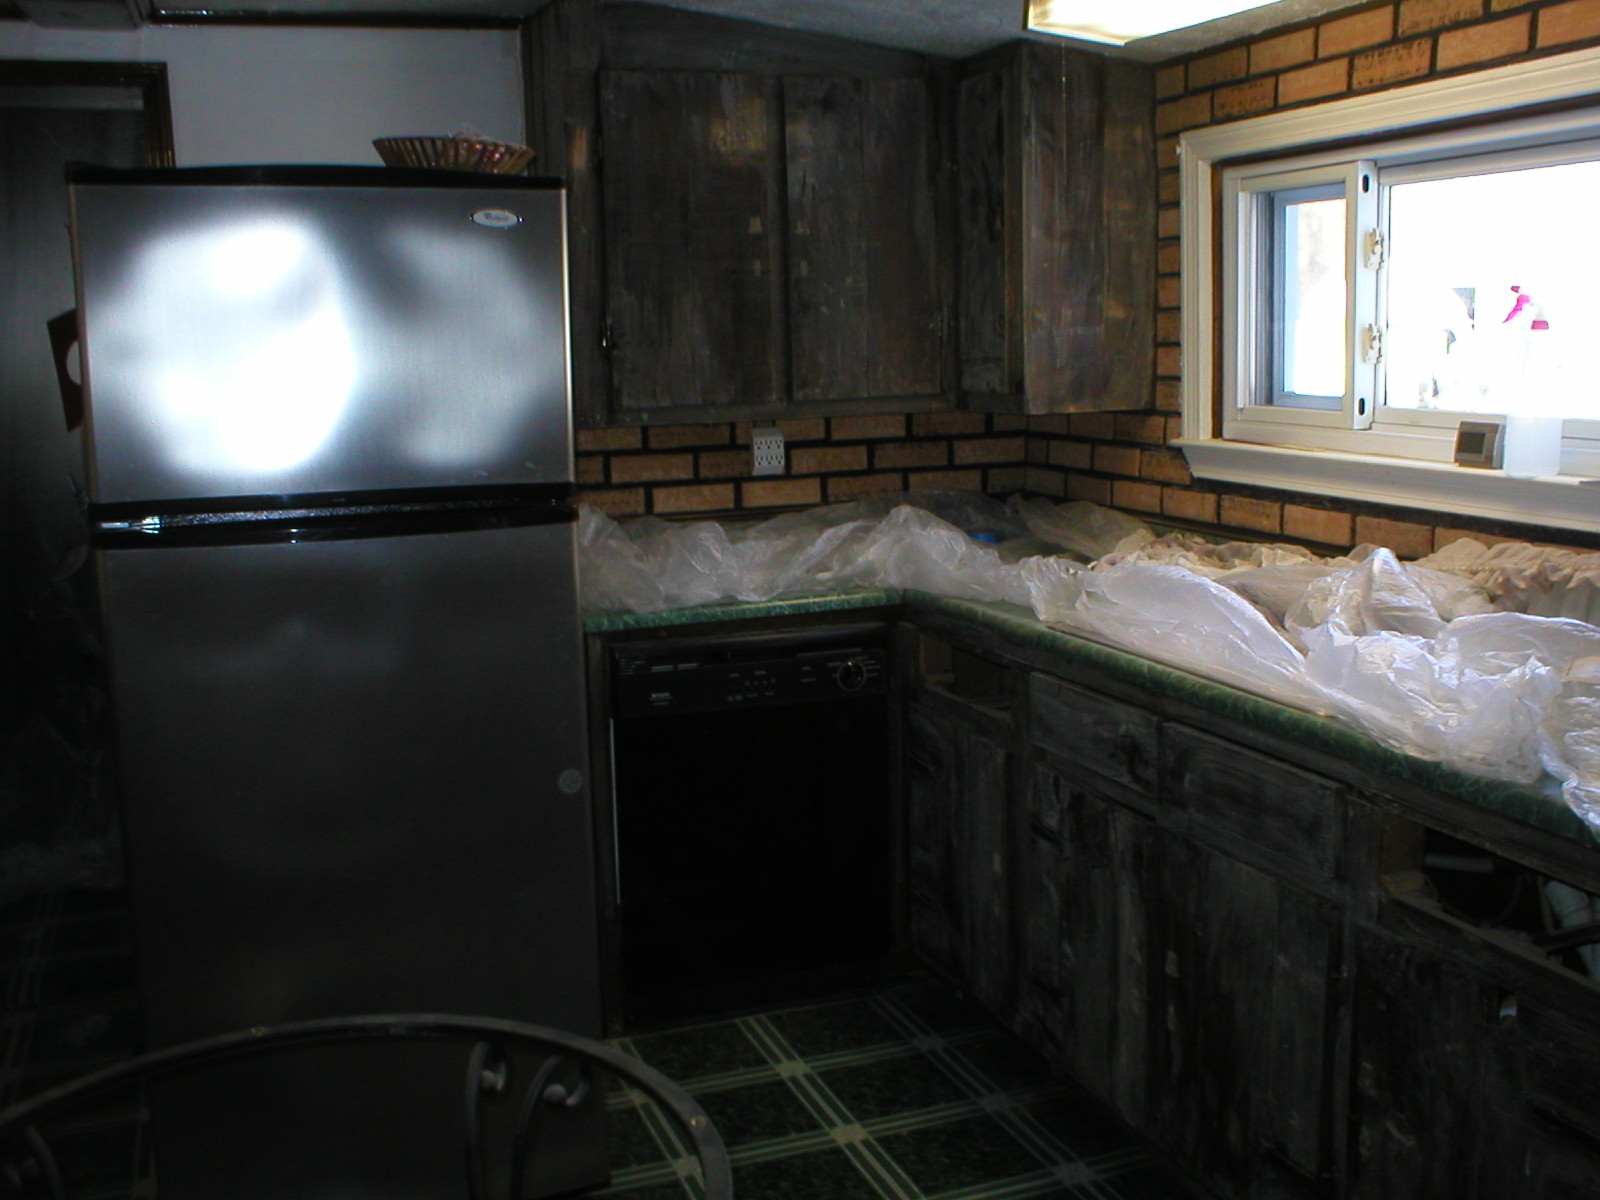
The kitchen...

before.....

& after.

We used Glidden Premium satin in the kitchen & baths, this finish is more shiny & very scrubbable.

Bedroom before....

& after.

Powder room before....

& after.

Bedroom before....

& after.

Janene painting the ceiling, before we paint the walls...

& after.

Bathroom before....

& after.

Living room before....


& after.

The rest of the house we used Glidden Premium flat, which has less sheen to help hide flaws in the drywall, but yet has some washabilty.

Me painting the garage steps with Glidden porch & floor